
When I first considered implementing coding in my classroom, my students wanted to learn how to code, but I had no idea how to teach this skill to them. I tried different online platforms, but they were slow, confusing, and not very engaging. I just wasn’t sure what to do.
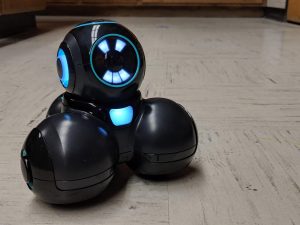
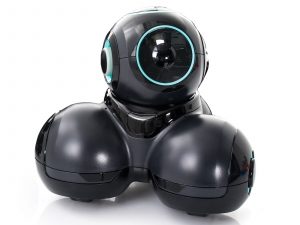
If you are in the same place that I was, I have discovered the solution to this problem. Its name is Cue, and it is a robot from Wonder Workshop geared towards middle school students.
Cue does all the teaching for you in a fun way. Rather than just coding online and getting a “Good Job” for getting the coding correct, the robot moves based on the inputs its given. This allows students to witness the results of their code.
Cue also provides different options for coding, from its “Wonder” mode to block programming and Javascript. And it helps to teach all of these!
Using Control Mode
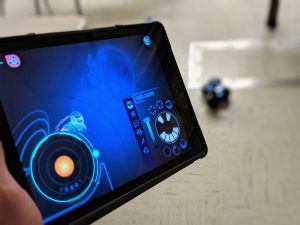
Cue has a Control Mode, which treats Cue as a remote-control robot. The connected iOS or Android device works as the controller. It is amazing how many different things you can make Cue do while in this mode.
This mode is excellent for kids to play with right away, because it allows them to see the different capabilities of Cue. On top of just moving around, you can control its face lights to do different things. You can also customize the colors of Cue’s different illuminated spots on its head and belly.
I found students really enjoy the Sounds feature. This lets them record sounds or phrases into one of ten different slots and make the robot make these sounds on their whim.
Cue also features Auto Mode, which is less exciting but still useful for students to see how the different sensors work. There is an optional gripper or blaster which can be purchased separately. These can be controlled in this mode.
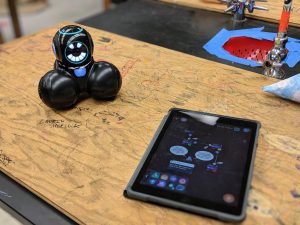
Using Wonder Mode
I was impressed with the Wonder Mode of the Cue app. I found it to be a simpler version of block programming. There are fewer blocks to choose from and each block can be modified to do different permutations of a core task. For example, there is a single move block. Within that block you can select how the movement will be executed from a menu of options.
This mode also offers different levels of challenges for students to work through. These challenges help students use the Sketch Kit, one of the extra attachments for Cue, which allows the robot to draw on a whiteboard. It also takes full control over Cue’s proximity sensors, accelerometer, gyroscope, wheel encoders, microphones, speakers, and IR receivers and transmitters. These sensors add a lot more fun to Cue, because they make it more intelligent.
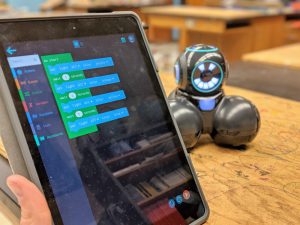
Using Code Mode
Code Mode offers a gamified road map to progress through. It helps students learn either Blocks or Javascript programming. Students receive problems to solve with partially completed code as their clue.
I was amazed that I learned the commands very quickly with this setup. My students quickly caught onto it as well. Both Code and Wonder Modes allow students to write their own program through a custom mode. This brings out the creativity in students once they get a grasp on how to code and the capabilities of their Cue robot.
Is Cue right for you?
The Cue robot is so simple to use for adults and children. Whether you are an instructor trying to teach kids to code or trying to learn yourself, the Cue robot makes the learning process easy and fun. There are also different attachments for the robot, as well as the ability to create your own attachments out of LEGO® bricks and attach them with the included adapter. The capabilities of Cue are endless and is only restricted by creativity. Educators with the creativity to think outside the box can keep students engaged in programming for many lessons with Cue.
Learn more about Cue, see if it’s right for you:


Leave A Comment