
With recent price drops and increased in availability, 3D-printing is more accessible than ever. Utilizing 3D-printers in your lessons can help you support a diverse population of learners and promote vital skills for developing engineers. Still, many teachers remain hesitant of this technology due to the complexity of utilizing and managing the machine.
These were some of the concerns I needed to address with teachers and administration to acquire a printer. As a result, I developed various steps to train educators in printing technology and increase their confidence when using the machine. I’ve put together the following steps to help guide you towards implementing 3D-printing in your classroom!
1. Learn your machine and how it works
The first step is by far the trickiest and most daunting for most teachers because there are so many different components involved in the process. Luckily, as the popularity and availability have grown, the quality and quantity of online tutorials has increased. A quick Google search yields a plethora of results regarding the printing process, repairs, and the details of tuning your printer.
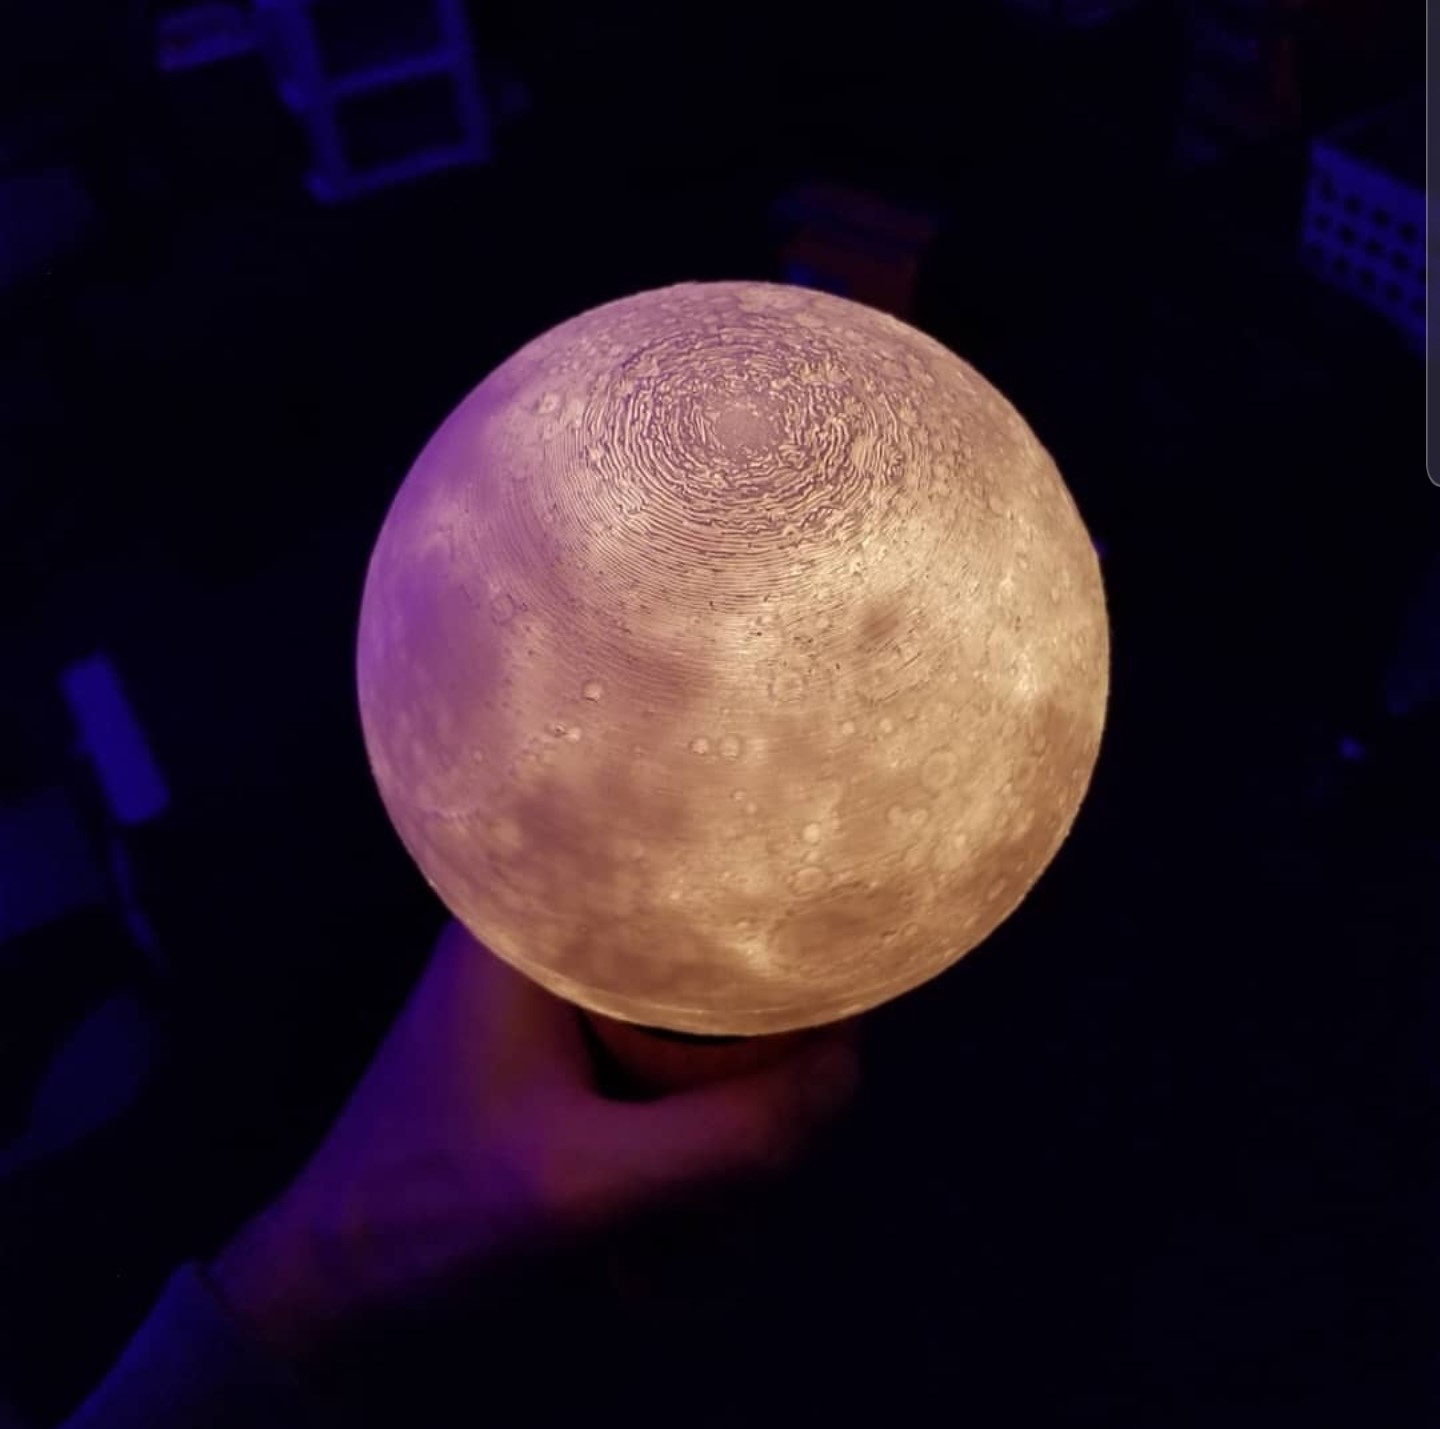
Once you develop an understanding of the physical parts, try a test print–most machines come preloaded with sample prints that can help you to see how printers move and behave in real life.
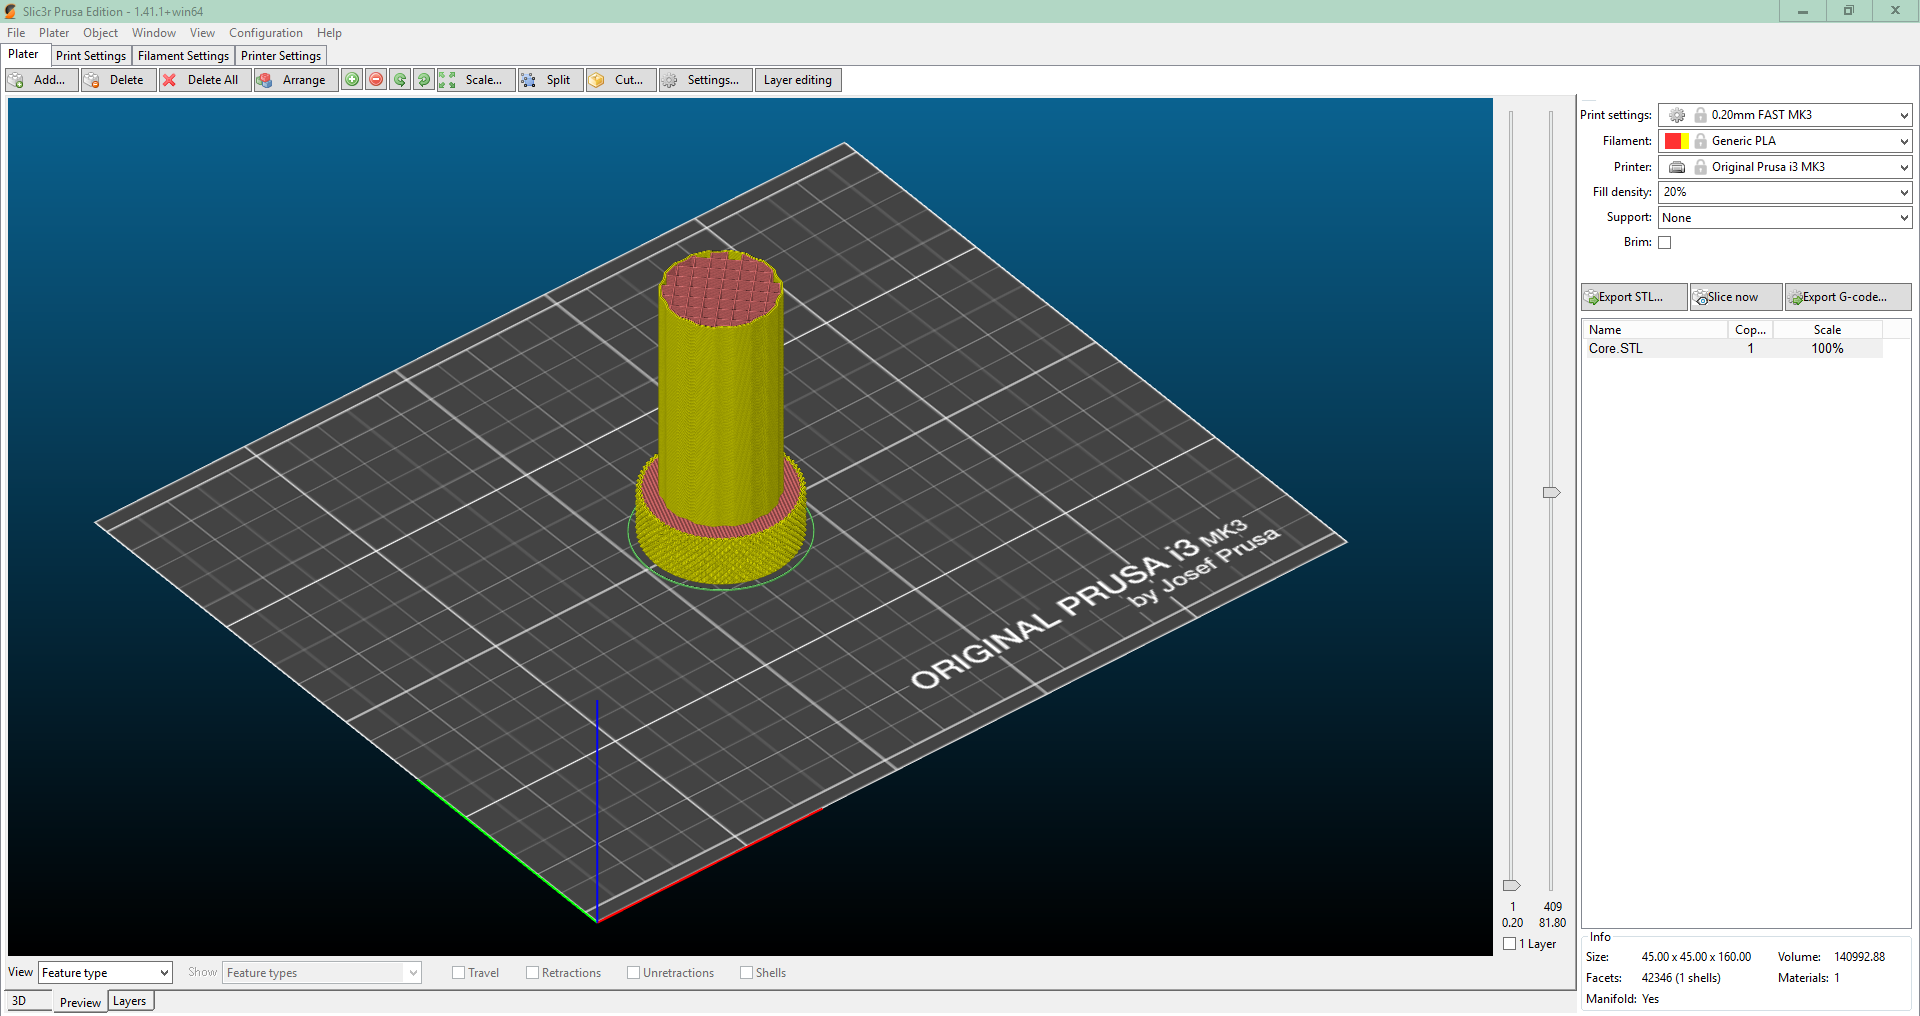
Next, familiarize yourself with slicing software. This software turns your solid 3D model into positional .gcode information that your 3D-printer can read and interpret. This is also the time that you will slice your file into tiny layers that can slowly be built upon one another.
I recommend using Cura or Slic3r as they have reliable recommended settings. They also give you the ability to tune almost every aspect of your printer’s behavior, and they are free to use.
As you become familiar with the software, you will learn when and where to add support, how to manipulate infill percentages and volume, and how to make decisions based on the function of your part or model.
2. Print a file of your own
Websites such as Thingiverse or MyMiniFactory are great resources for pre-designed .STL models. After you create a free account, you can download thousands of models (here is a model I particularly enjoy).
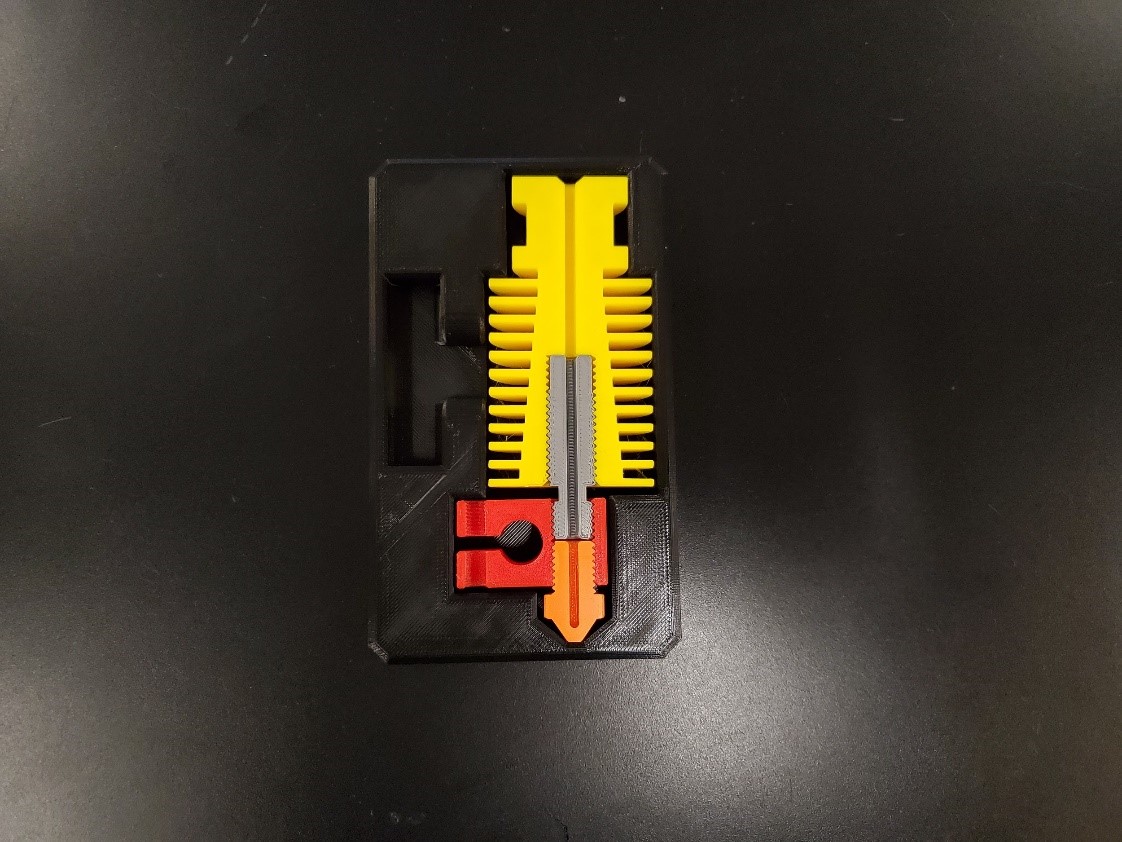
This model is easy to print and is a great way to show students the different parts that make up the hotend of a 3D-printer. Next, import the file into your slicing software and practice slicing the model. Finally, load it onto your printer and enjoy your results!
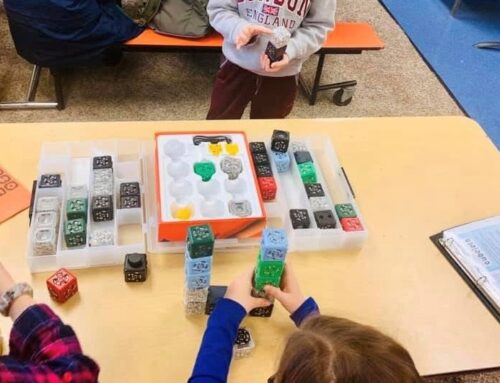
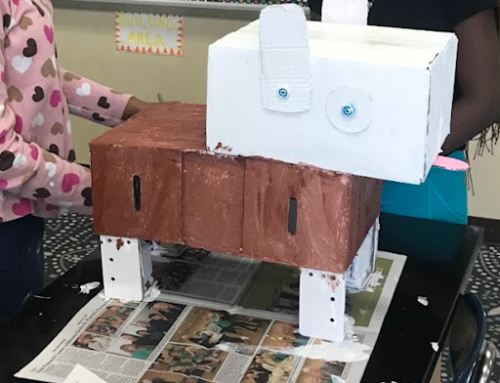
I have used the 3D-printer at my school to help me print and design different manipulatives to better teach many different subjects and topics–if you can think it, you can print it! Since there are such large online libraries of models available, it is easy to have a very specific manipulative in just a few hours of print time.
3. Design your own model
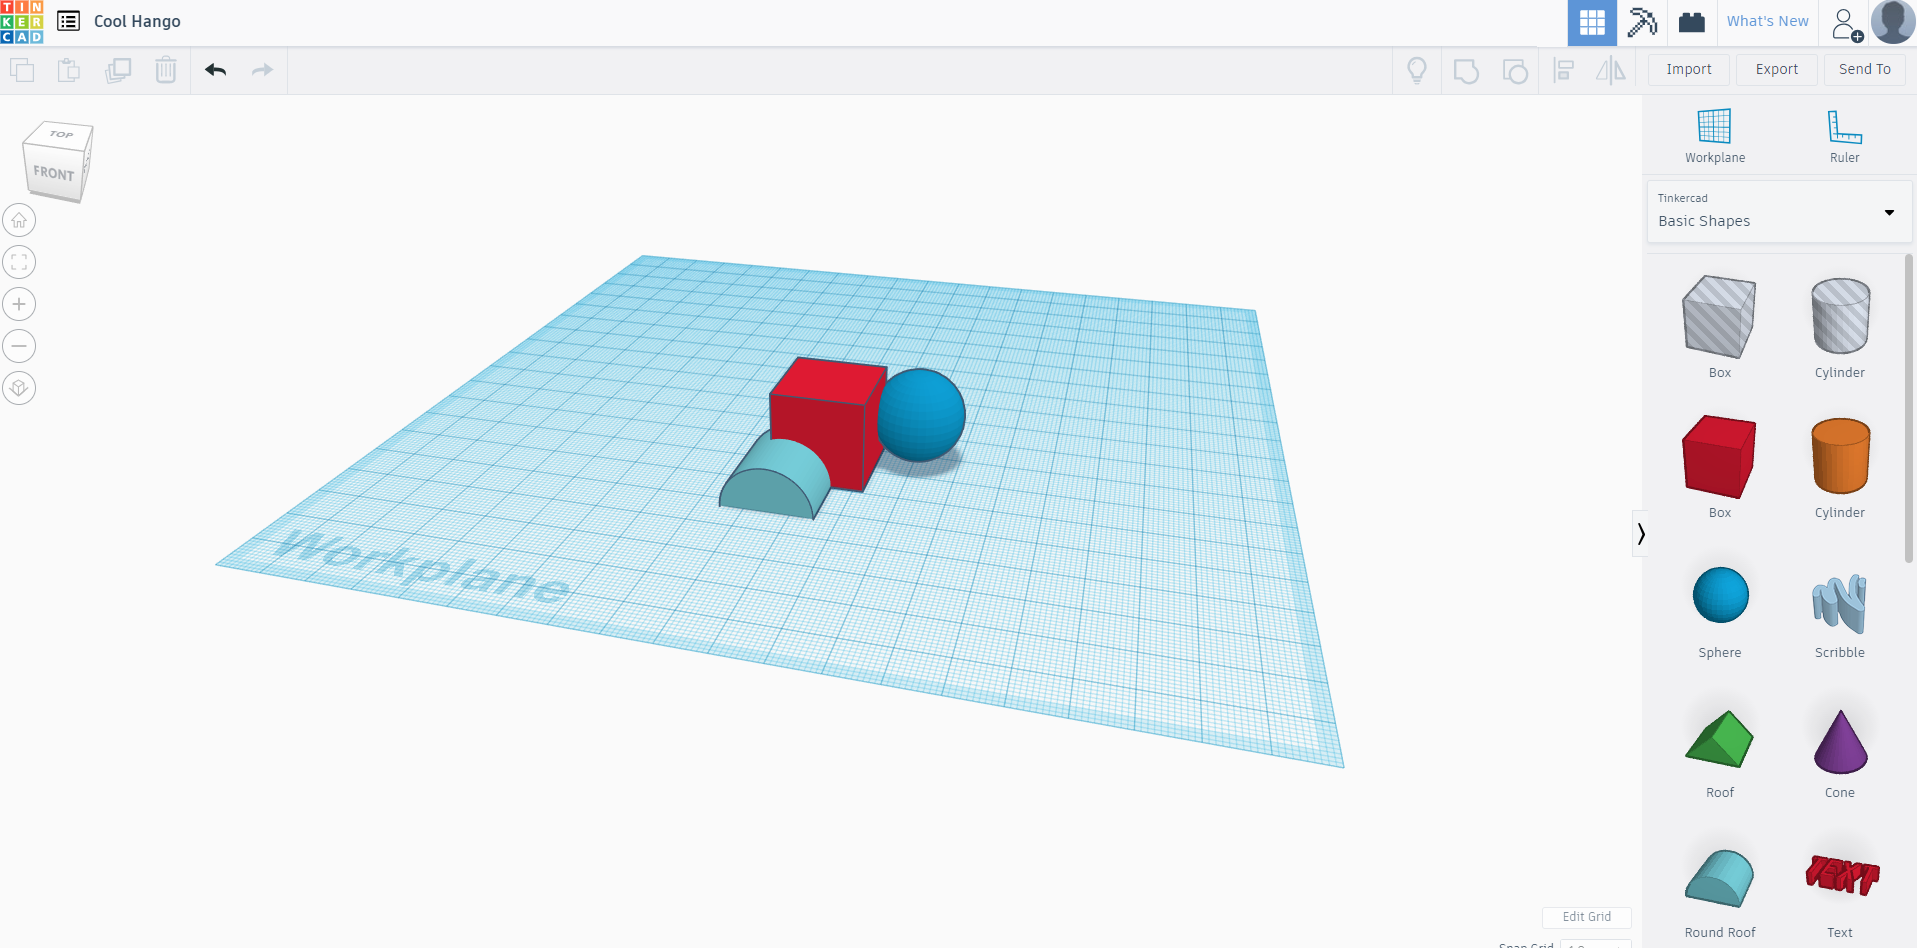
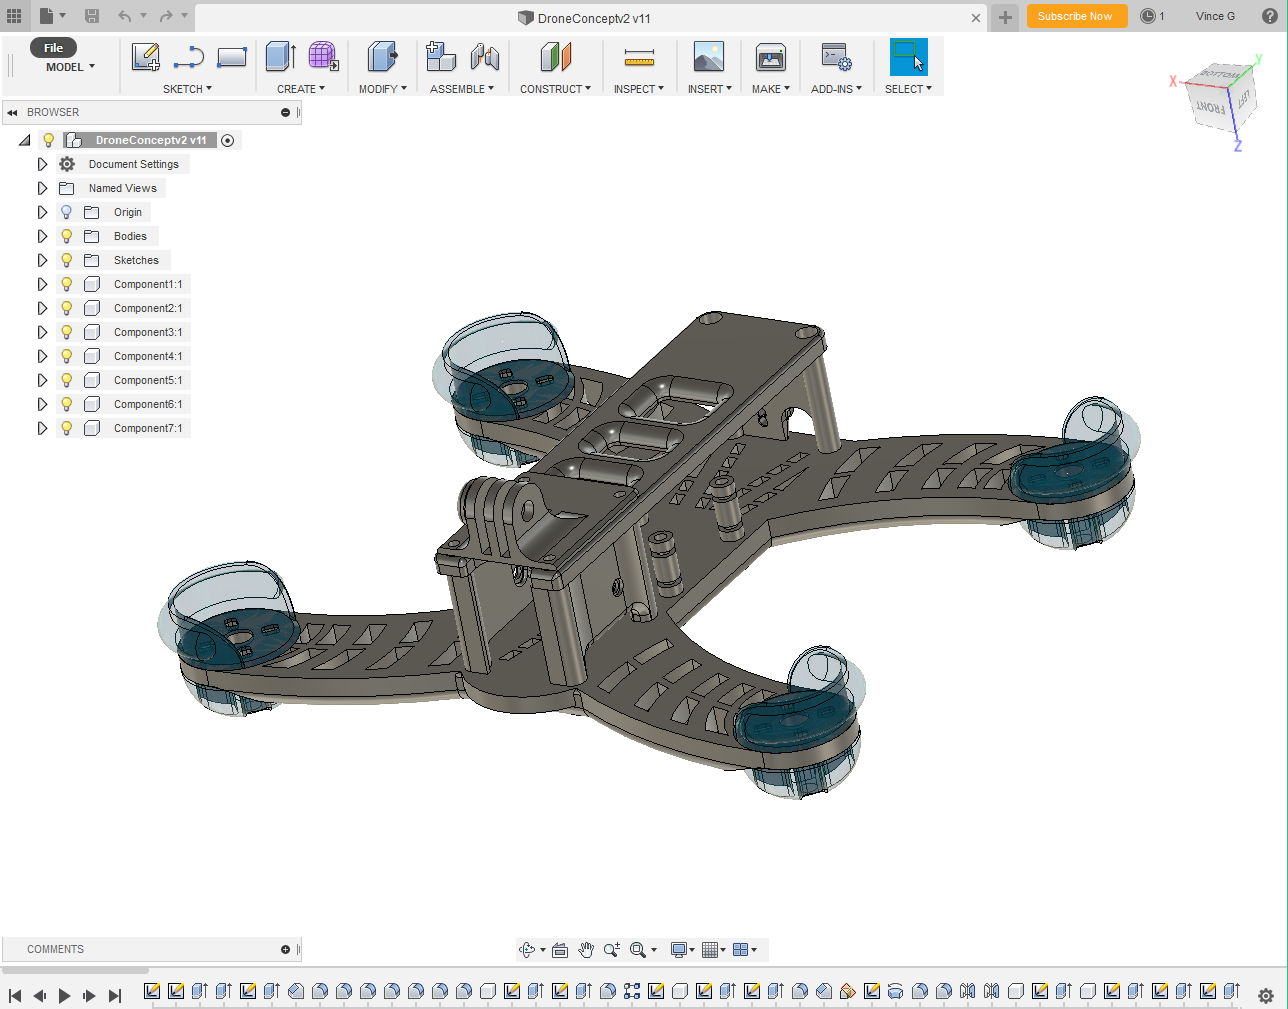
Now that you’ve learned how your printer works and how to load any file, it’s time to make your own. TinkerCAD and Fusion360 are examples of free, easy-to-use modeling software that allow you to design anything you can imagine. Both software allow you to design and export .STL files that your slicing software will be able to slice and compile into .gcode needed for your printer.
Here, you can begin to create step-by-step processes that your students can follow to produce their own 3D-printed parts. I typically start with TinkerCAD when teaching because it allows students to design using premade shapes and allows you to monitor a student’s progress with a teacher account. Fusion360 is more advanced software and less intuitive, but many agree that it will give students the experience of working with professional-grade CAD software.
4. Start small
It’s finally time to have your students learn about 3D-printing and create their own designs, but where should you start? Like the way you began, you can use your 3D-printer to create manipulatives to teach about the machine and how it works. Give students access to the machine, allow them to see it in action, and give them an opportunity to see and feel the unique texture of a 3D-printed part!
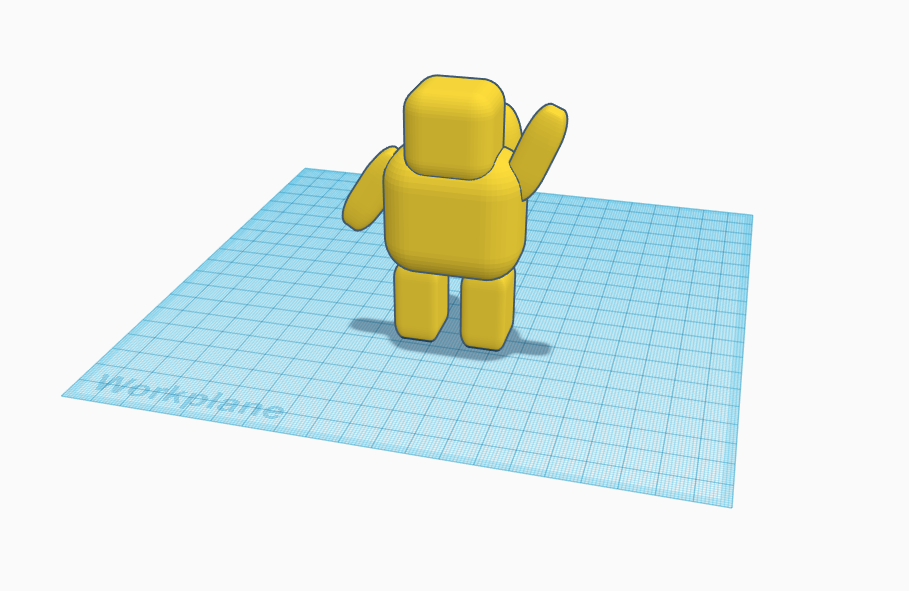
Walking your students through modeling will be most important. Designing nameplates or simple structures in TinkerCAD is an easy, fun, and individualized activity that many students will enjoy. As students become more comfortable with the software, challenge them to model a LEGO creation or classroom object on the computer to practice fluency with the software. Give them guidelines and introduce new tools within the software as students become more proficient.
5. Project-based learning
When students understand the printing process, implement 3D-printing elements into regular lesson plans. Instruct students to solve real-world problems using 3D-printing along with their knowledge of the engineering design process. Because the software is free, teachers can assign homework or more lengthy projects. These could include semester-long assignments with checkpoints for part tolerances, specific volumes, or just in general. For classrooms utilizing microcontrollers and robotics, 3D-printing could also empower students to construct complex parts needed for their individual projects.
I hope this post will inspire you to include 3D-printing in your classroom! If this post has inspired you or if you have any questions about anything please leave a comment below.
Check out our 3D Printing products:


Leave A Comment