A makerspace is any venue that promotes creativity, design-thinking, and tinkering. In a school, a makerspace can live on a cart, in a closet, in the corner of a classroom, or even have its own wing. You can replicate the ideology and practices of a makerspace at home too. Follow these tips to create an at-home makerspace perfect for distance learning!
Gather Supplies
Within a makerspace, students will follow the engineering design process of coming up with ideas, creating prototypes, testing, iterating, and coming to a final design. The beauty of engineering design is that just about anything qualifies as a supply! Engineers often use different types of materials and adhesives from one project to another and that’s true in a makerspace as well.
While anything is fair game, you may want certain types of supplies:
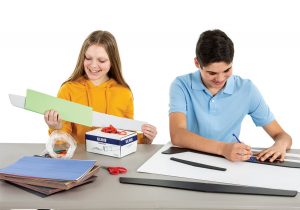
- Structural supplies – items like cardboard, wood, paper, coroplast, or foam board
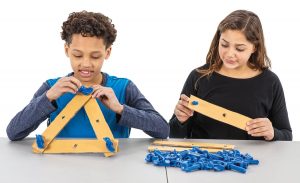
- Connectors – items like clips, pins, paperclips, or hardware. There are very different types of cardboard connectors that are inexpensive for at-home projects and are reusable. Some cardboard connectors act like hardware for cardboard while others are more like clips holding cardboard together.
- Tools – items like scissors, hot glue guns, or staplers. Even drills or saws may be okay under adult supervision!
- Other supplies – items like string, wheels, bricks, or aluminum foil. This will depend on your end goal in the project.
Designate a Space
Designating a space at home for a makerspace can be tricky. If you’re a family of four and everyone is at home right now, you may be feeling cramped. The great thing about a makerspace is that it really can be set up anywhere! Don’t rule out your basement, spare bedroom, garage, or even a portion of the dining room. You can make a “makerspace in a box” and keep all the supplies in one place. This helps keep the makerspace tidy and portable. While the makerspace may work in the dining room on Monday, it may be more appropriate outside on Tuesday.
 House Rules
In a makerspace, rules keep all participants safe and provide everyone with equal expectations. Urge parents to come up with makerspace rules with their children. When they decide on the rules together, they’ll both have more buy in to the process. Important rules may include:
- Only allowing the use of certain tools without adult supervision
- Wearing safety glasses with certain tools
- Requiring the students to clean up when they’re done
- Relying on students to report injury (paper cuts included!)
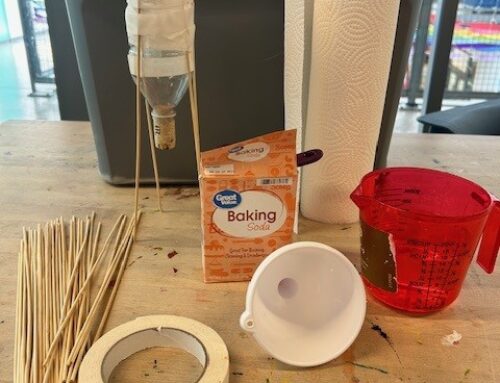
- Banning certain projects in the indoor space (e.g. no water projects allowed inside)
Keep It Open-Ended(ish)
The last important aspect of your at-home makerspace is that it should be a fun environment that promotes learning and not unstructured chaos. Kids should not be sent to the makerspace just to get them out of your hair, and there should be objectives to reach while in this space. Instead of “go build” or “go play”, we should give goals that have open-ended processes like “build a tower that can support a can of soda” or “design a boat that can hold the most marbles”. These types of prompts guide students to a goal, but leave space for imagination, creativity, and ingenuity. You can add constraints as you see fit. Things like heights of structures, distances traveled, or weights supported are all great variables for the students to achieve. If you’re looking for more ideas, check out these makerspace cards here.
Looking for makerspace tips for when you’re back in the classroom? Check out my Ultimate Makerspace Checklist here!




Leave A Comment