
Mobile makerspaces, such as the Maker Bus or the Mobile STEM Scout Lab, have become increasingly popular over the past couple of years. These unique spaces allow students to learn concepts the physical classroom may not be able to offer. When a mobile makerspace vehicle arrives, students are beyond excited to explore. What if you could bring that same feeling into the classroom? Taking your school’s makerspace mobile provides a fun twist your students are sure to love!
1. Obtain a Mobile Cart
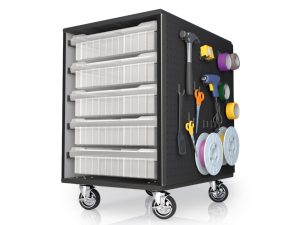
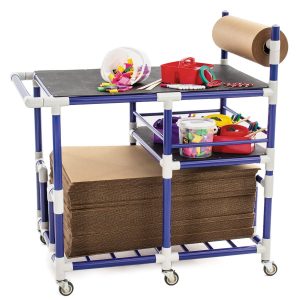
First things first, you’ll need to find or purchase a cart. This is essential to making your makerspace mobile, convenient, and easy to transport. The best places to check would be the maintenance department, gym or science classroom, or your schools wood class could make you one! If those aren’t an option or you’re looking to purchase a new cart, we have a curated collection of carts made for this specific dilemma!
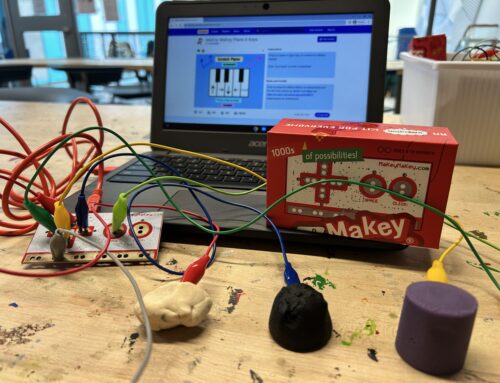
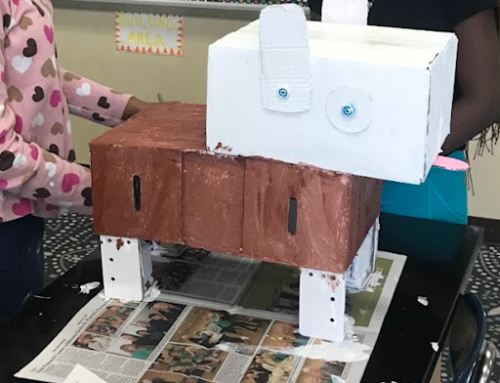
2. Collect Makerspace Items
These include but are not limited to:
- Cardboard
- Scissors or cutting utensils
- Tape, glue, Octa-Clip Connectors or Cardboard Connectors
- Design elements, such as stickers, markers, paint, etc.
- Robotics, such as the Hummingbird Bit Sets or Paper Circuits

3. Talk with Administration
Understandably, creating a mobile makerspace isn’t as easy as following a simple 3-step blog. At this point, your school may not have a physical makerspace or a STEM program. The good news is that a mobile makerspace is a great way to start! If you are considering having this conversation with your administration, download our free Makerspace Toolkit and get started! It provides valuable information, as well as inspiration and tips to get your makerspace off the ground.
If you are looking to a way to implement a makerspace where STEM isn’t a top priority, consider the library! Read this blog from a librarian and STEM-advocate on how she helped her school implement STEM – How Your Librarian Can Help Integrate STEM.
Good luck with your mobile makerspace adventure, we can’t wait to hear how it goes in the comments below!


Leave A Comment