Virtual events are the biggest way right now to engage students and parents. They are a great way to have your community get information from the comfort of their own home. This makes information more accessible for everyone. Often you may have low engagement from parents who are not able to attend in-person events due to other obligations. However, virtual events allow parents to see what they need while being respectful of their time. You are often able to record virtual events so those who do not make it are able to still gather the information they need.
A great way to get students and parents involved in STEM is by hosting a virtual STEM event. With a virtual STEM event, you can showcase what STEM items and programs you offer in an easily accessible format. Here are the different steps that I have been taking to host the virtual STEM events on my campus.
Select An Activity
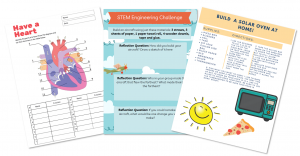
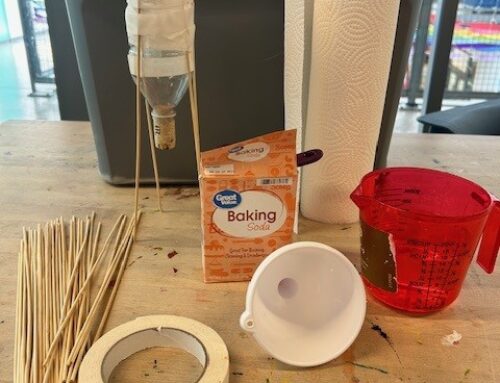
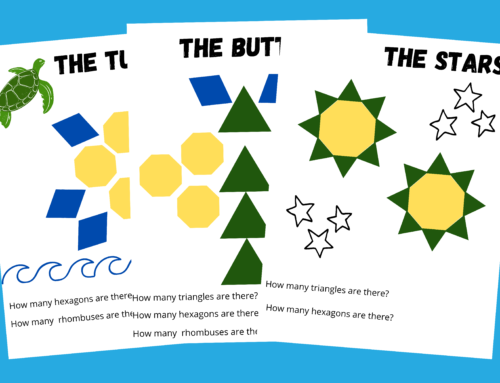
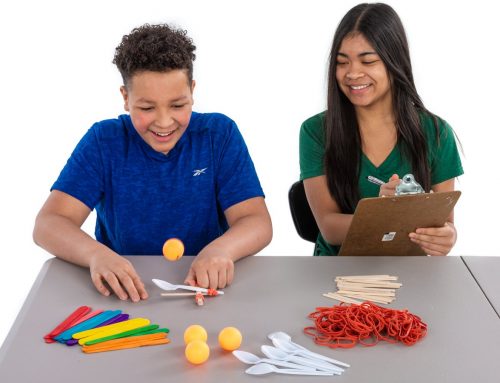
The biggest and most important step is selecting an activity! You want to select an activity that is appropriate for the age group of your students and an activity that your students will want to participate in. In the past I have had circuit activities, coding events and countless STEM challenges. Students love STEM activities and I can always have great attendance if I have hands on activities. You can still do hands-on activities from home by providing students with the materials that they need to participate. You can use STEM Universe to find fun ideas for at-home activities. Educators are posting materials (for free!) that you can use to help you come up with fun STEM ideas.
Select a Digital Platform
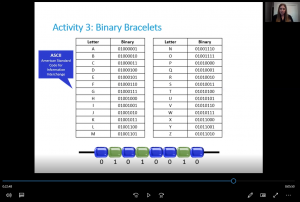
The next step that you will need to take to host a virtual STEM event is to pick a digital platform. There are several options that you can choose. (Zoom, Flipgrid, Microsoft Teams, Google Slides) Or use platform that your school/district uses (Schoology, Canvas, etc.). If you want a more live event, Zoom or Teams is a great option but if you want to host a pre-recorded event, I personally love Flipgrid with Google Slides. You can have all the details, and procedures for the STEM event and have a FlipGrid at the end for the students and families to display their product. This could be a tool that you reuse and modify each year.
Planning Materials
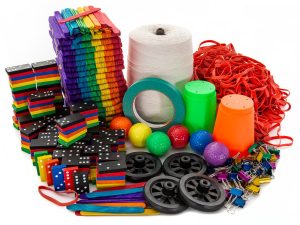
Planning what supplies are required is the next step that you will need to host a virtual STEM event. In the past, I held a pre-recorded STEM challenge that listed all the steps and challenges on Google Slides. I typically use household products so families could use what they had available but I have also provided the materials just in case they did not have access. Families would drive to the school and pick up any materials that they might need for the STEM challenge. You will need to plan what will work best for your event, your school, your community and most importantly, your students.
Incentives And Marketing
Incentives and marketing are two of the most important steps in hosting a virtual STEM event, especially if it is your first event. You will want to engage the families early to get their participation and the best way to do that is through communication. For marketing, you can send home flyers (both paper or digital depending on your campus). On the flyers, ask the families to start collecting the materials that they will need and you can give the times to pick up the materials they might not have. If your school has a newsletter, you can announce it through there or through your school’s social media page. For incentives, you can have a raffle for all the families that post a Flipgrid with an example of their product. Giving out prizes will encourage families more to participate.
Have Fun!
The last step is to have fun and marvel at the event you created! You helped students and families be more exposed to STEM and you might have just possibly helped guide a student on their future career!
Looking for STEM activities that can be done at home? Visit our STEM@Home hub here!




Leave A Comment